

From dough to “whoa”!
We’ve got the full how-to for creating amazing royal icing cookies with our cutters.
How to make cookie magic, step by step.
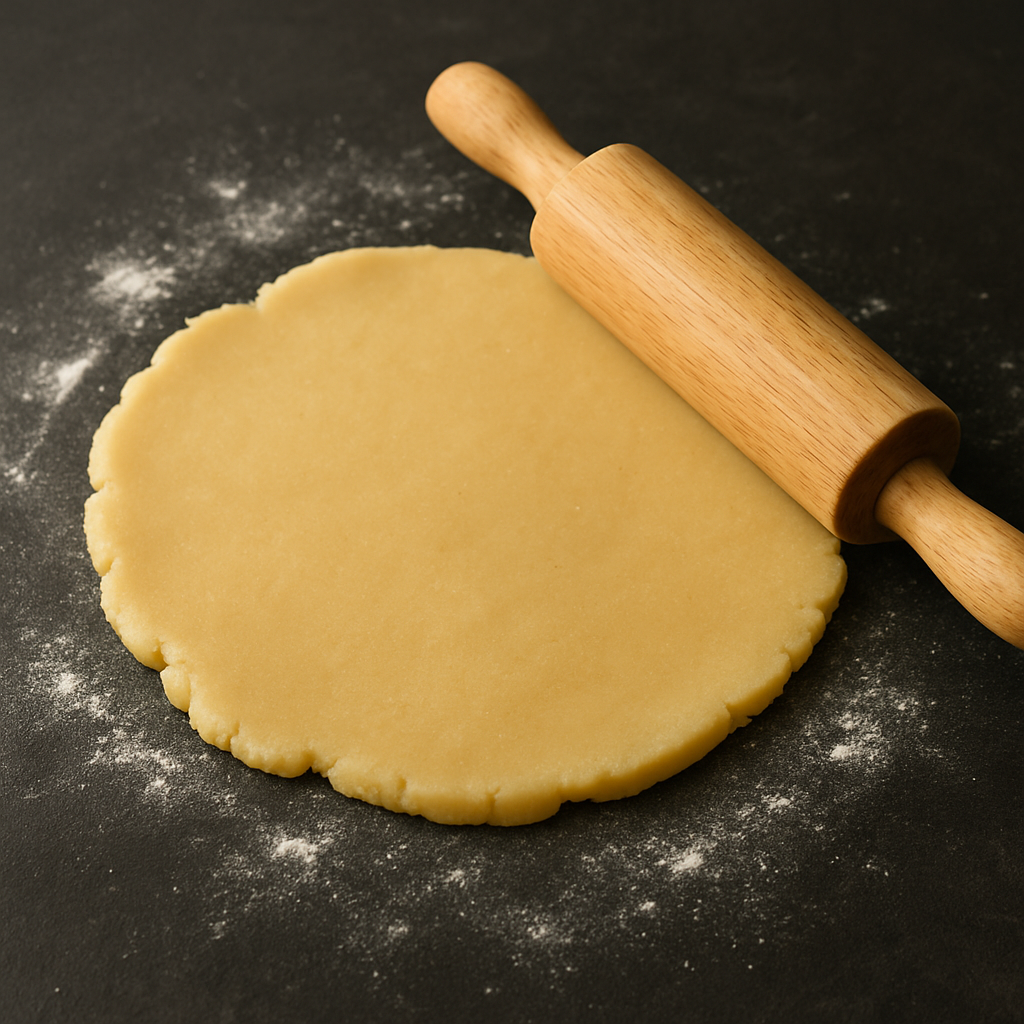
1 — Roll it out.
Chill your dough, then roll it to your preferred thickness—up to ½ inch works great. Our go-to is ⅜ inch.
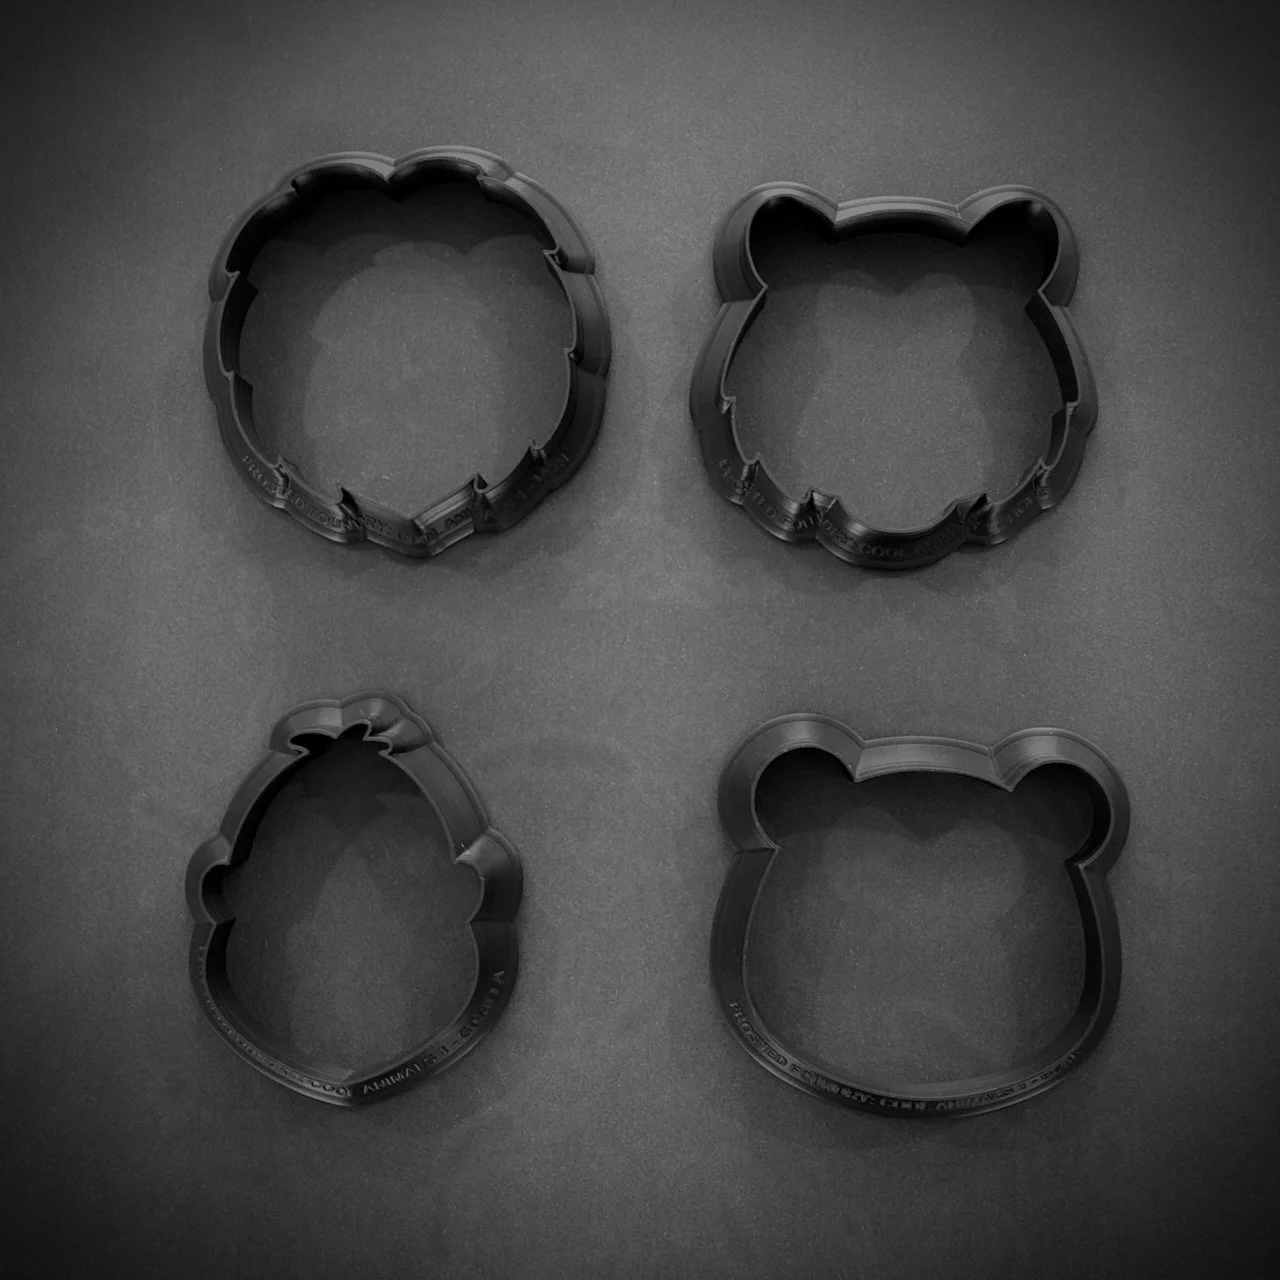
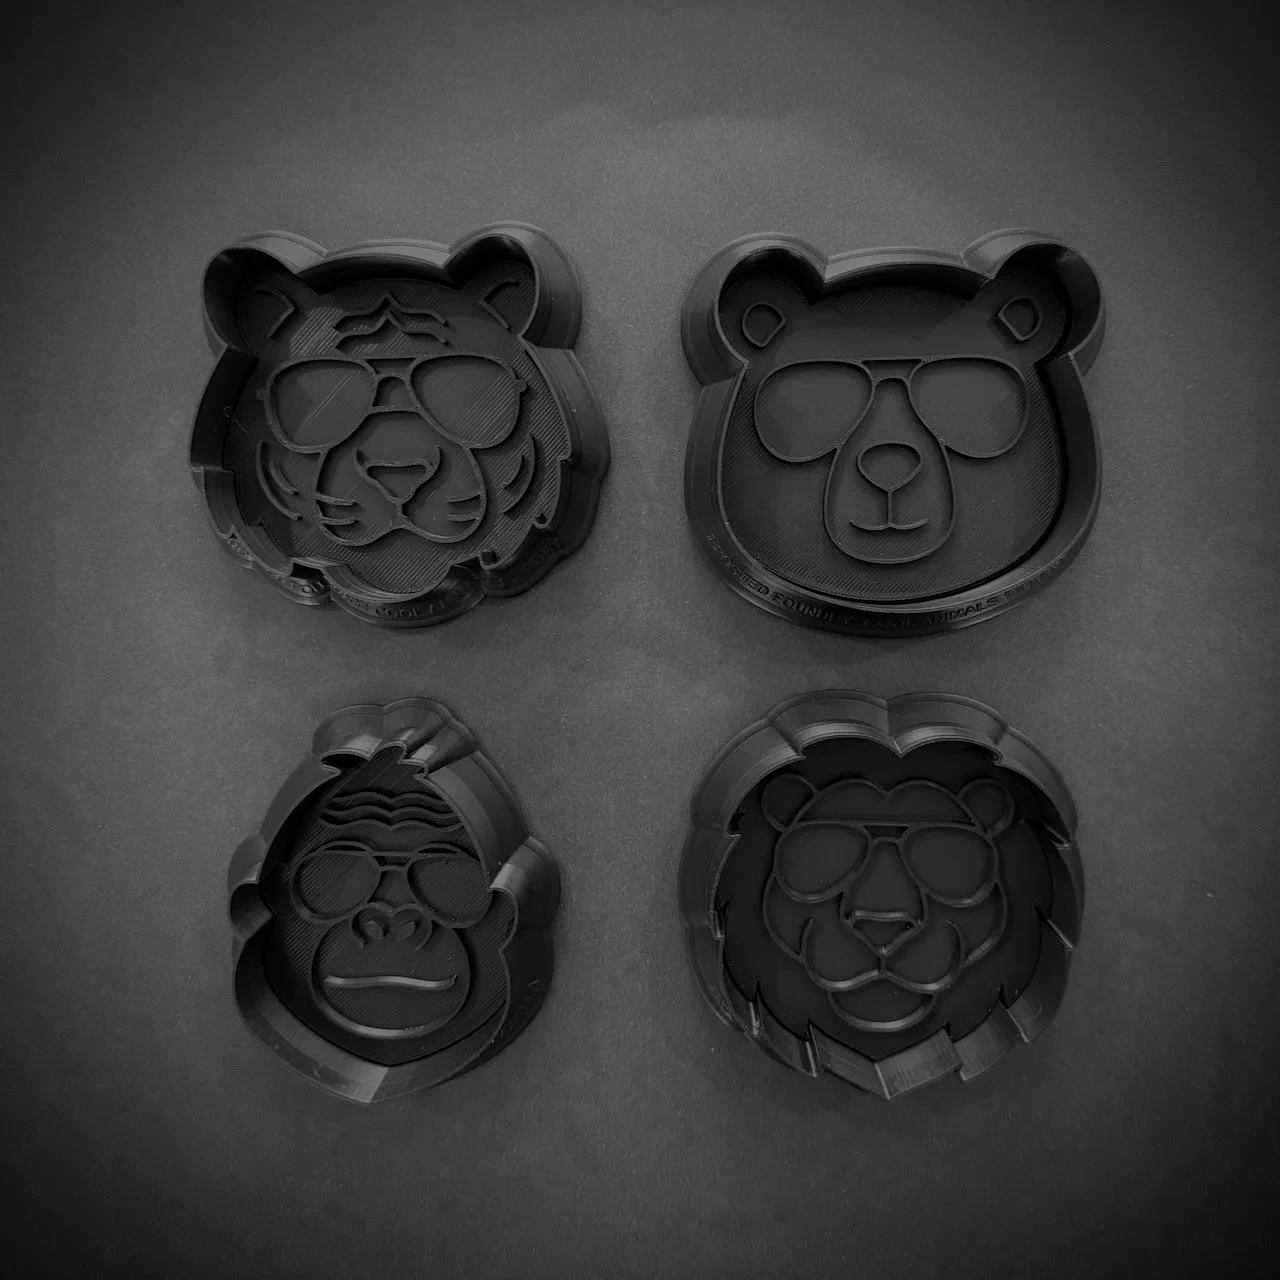
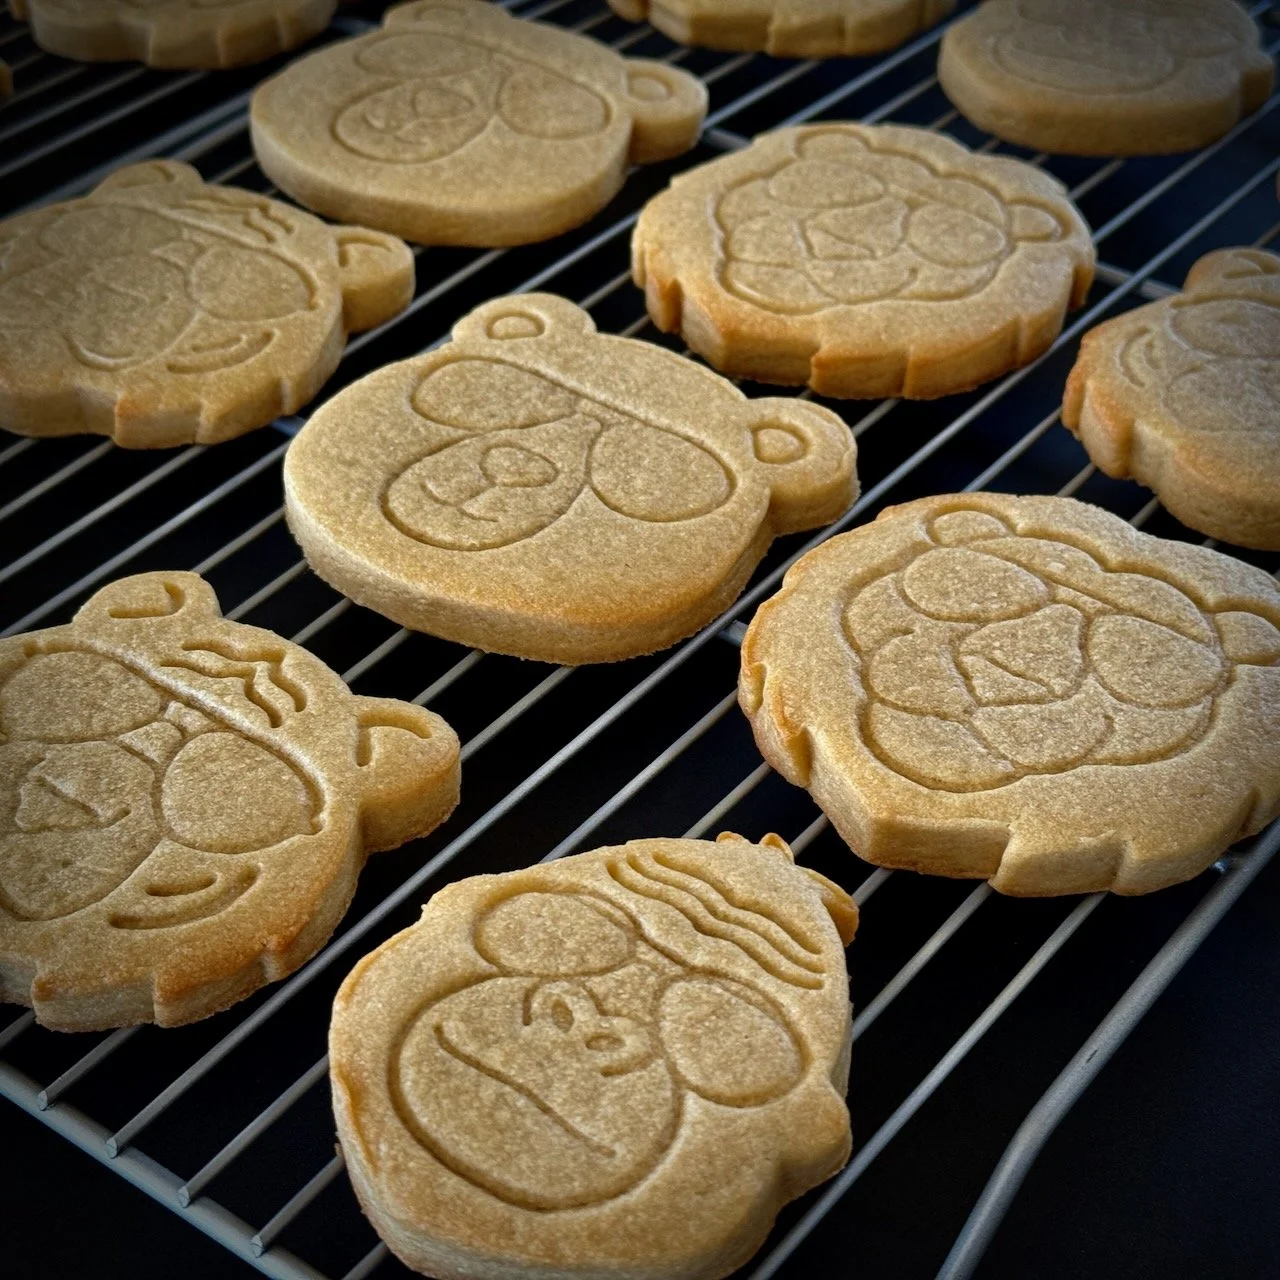
2 — Cut and stamp.
Use the outer cutter for the cookie shape, then press the matching stamp to imprint the design. Boom—built-in icing guide.
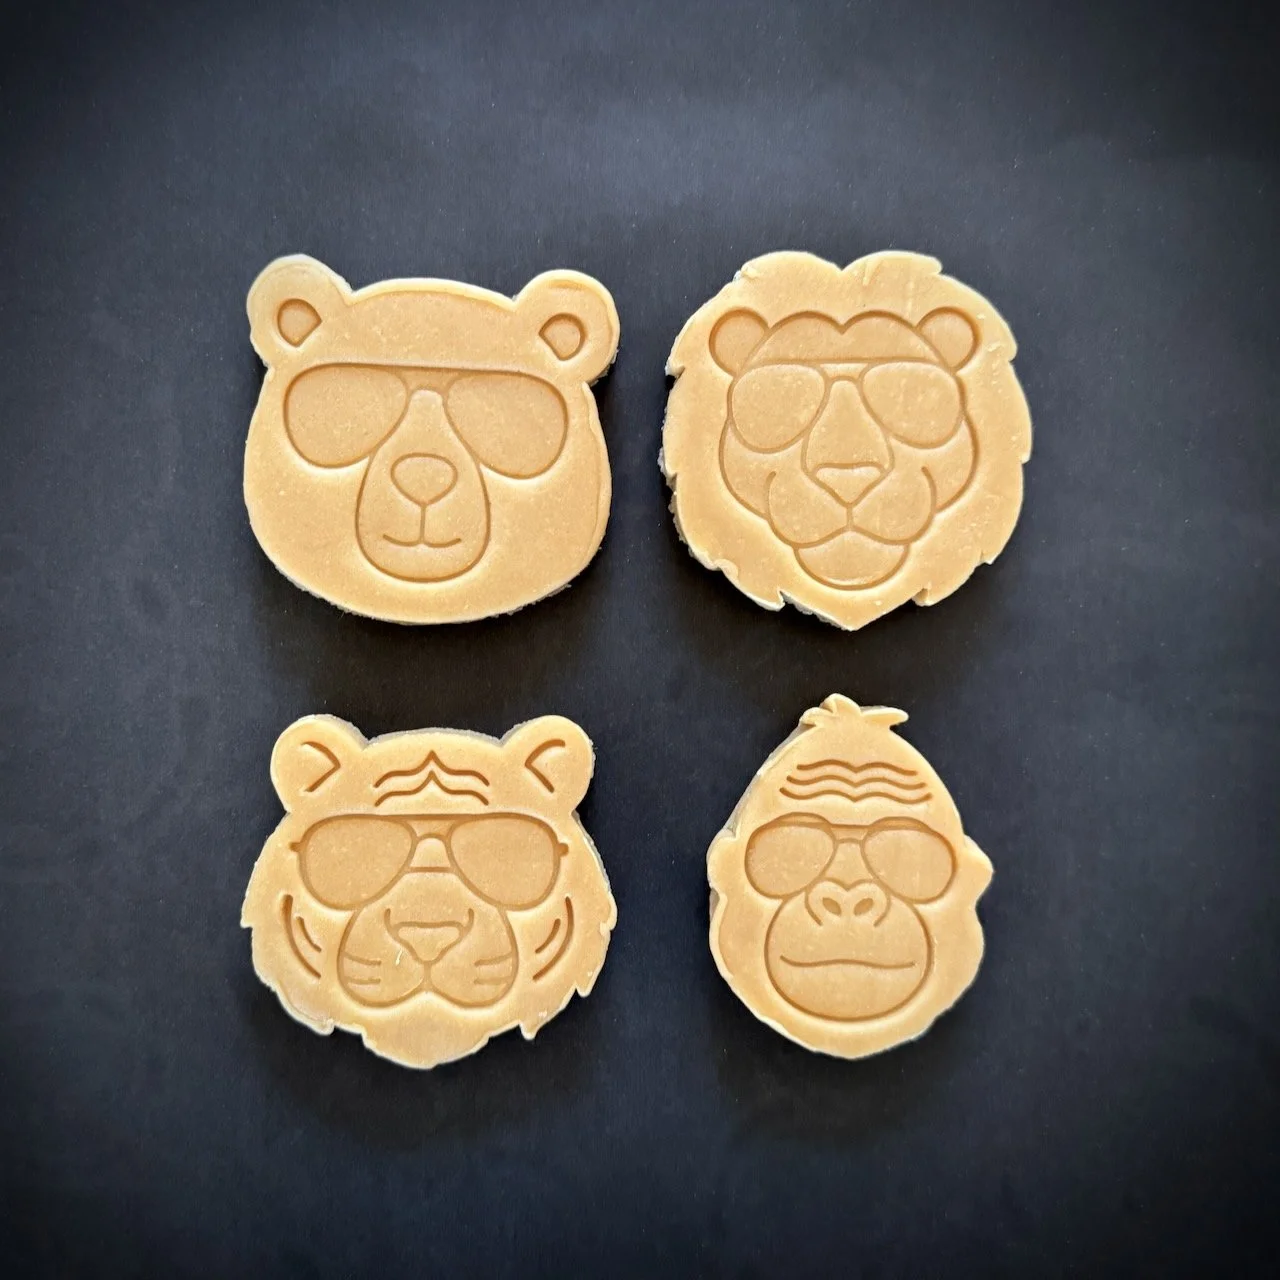
3 — Bake, cool, glaze?
Bake your cookies to golden perfection, then let them cool completely. No shortcuts here—warm cookies and icing don’t mix.
Want a shortcut!? — skip the icing and cover the stamped cookies with a thin glaze.
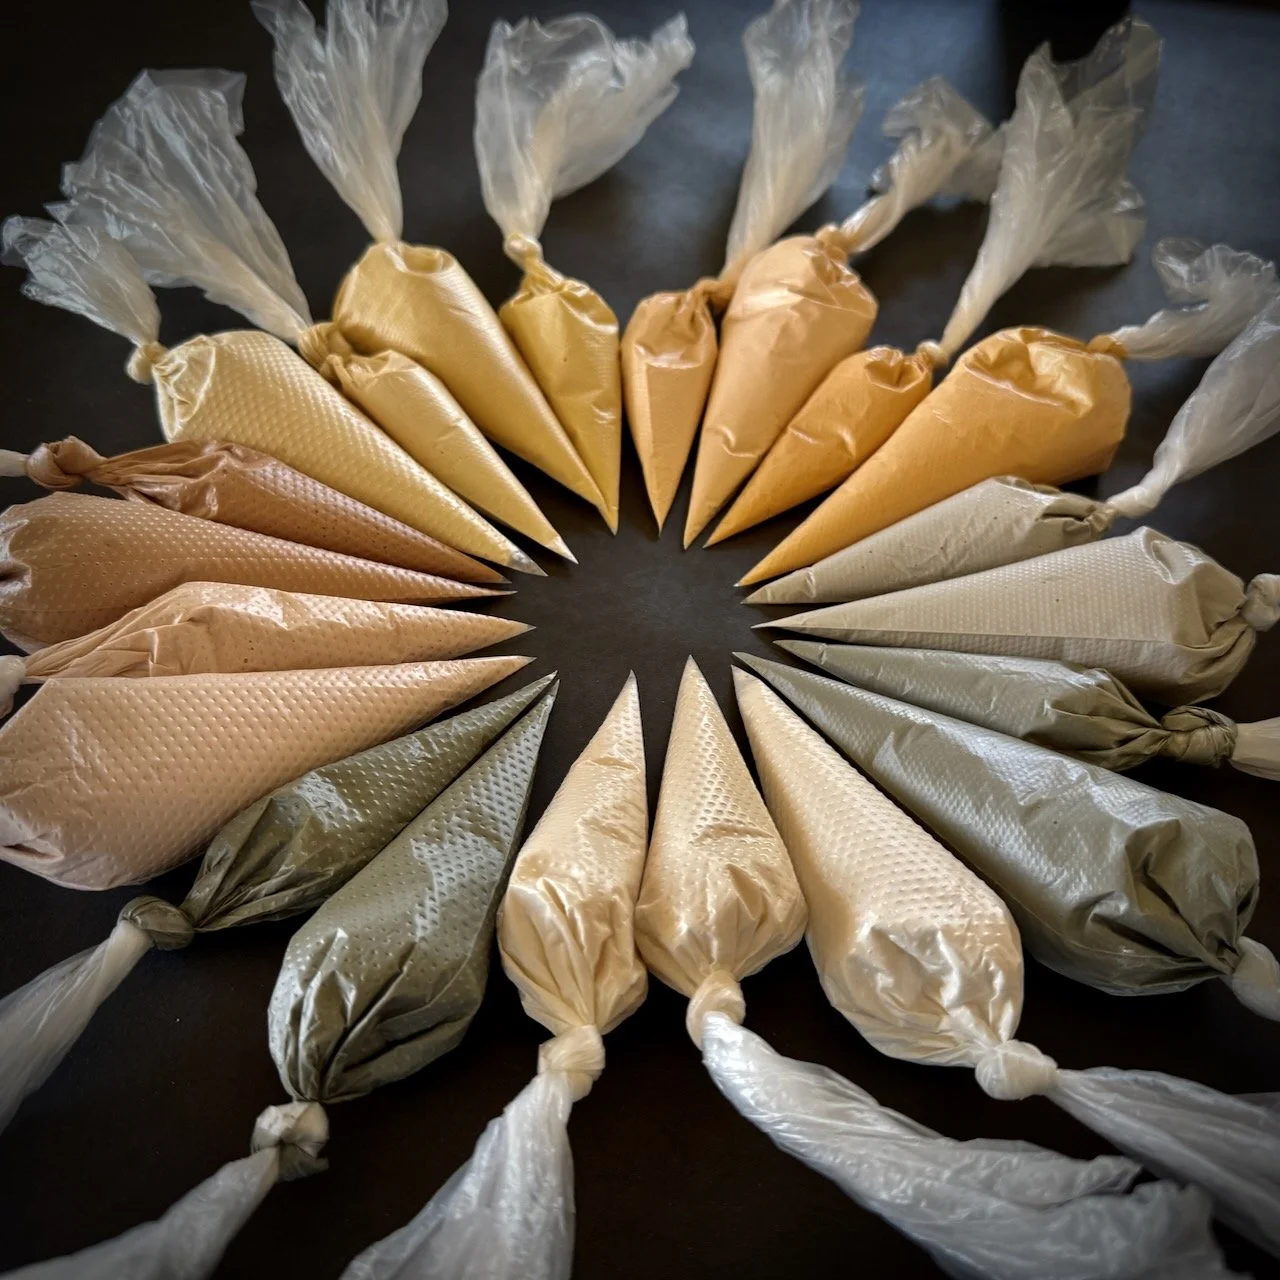
4 — Outline and flood.
Use the imprinted lines as your decorating map. Outline with royal icing, then flood and fill with color and details.
5 — Add your flair.
Once dry, add finishing touches like shading, textures, or details using edible paints or markers — whatever your cookie heart desires.
6 — Show them off.
Snap a pic, share the joy on social media, and let the compliments roll in. You just made edible art. We want to see them too, mention @frostedfoundry so we can bask in your glory.
